
What you'll need:
* Transparent tape (I use 1/2" but you can use wider or trimmer, based on your preference)* Your choice of good quality colors
and
* Your choice of clear top coat.

For my pedicure, I used Samoan Sand by OPI Nail Lacquer, the last of a bottle of French Manicure White by L.A. Colors and Hard as Nails: Xtreme Wear by Sally Hansen (my top coat).
Samoan Sand by OPI was used as the base nail color because it is fast drying and long lasting. Past manicures with OPI Nail Lacquer products have lasted a week or more, depending on the wear and tear I exert, versus other cheaper nail polishes that have chipped the next day. Having a fast drying nail polish for the base nail color is very important, otherwise in order to get the results of this pedicure the painted nails would have to be left alone for several hours, or a day, and the manicure/pedicure completed at a later time when the polish is fully dry.
Also - don't be afraid to be adventurous with color! Experiment. Mix-and-match. Go wild. Have fun! Just because I used a neutral color and white as an example in this tutorial, doesn't mean you have to. Play a little!
- Credit for the idea of using tape as part of a manicure or pedicure goes to my friend, Lindsey, who brought the idea to my attention a few months ago.-
Step 1). Paint the base nail color coat.
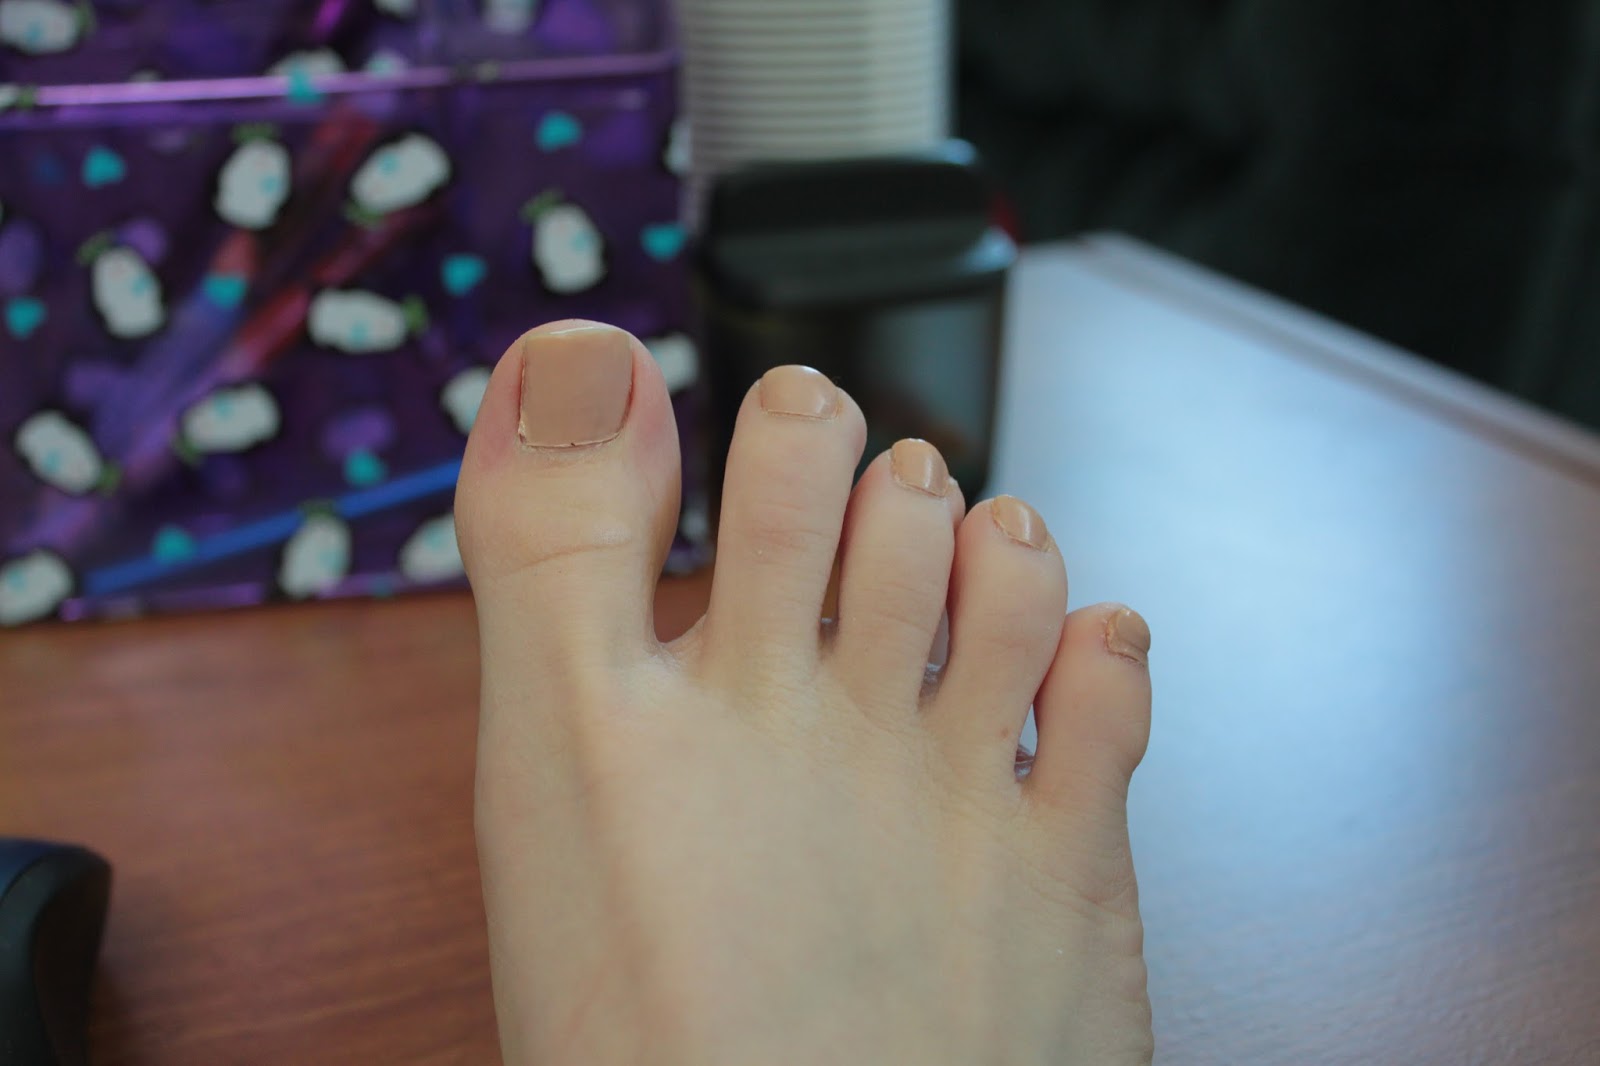
This can be as opaque or transparent as you see fit. Be sure to make sure that each coat of color you apply dries completely before applying the next. Otherwise the polish will be tacky or dry on top but wet underneath the topmost layer of color. For this French pedicure, completely dry nails are a must.
Step 2). Once your nails are completely dry, cut a small strip of tape and stick it to one nail, leaving the top edge of the nail bare.

Press down on the tape across the top edge (closest to the end of your nail) to ensure a tight seal. For a more rounded French manicure/pedicure style, as opposed to the straight line provided by the tape, you can use either the edges and ends of a band-aid. (This, however, is more costly - and as a college student I'm a fan of saving money. Plus, the band-aid can occasionally leave behind an excessively sticky residue on the nail, so plan accordingly.)
Step 3). Paint on the white (or your second color choice).

Don't be afraid to paint outside the lines. Getting the nail polish all over the tape is totally fine! And if polish gets on your skin, you can either scrape it away with a fingernail or once done with your pedicure and it has dried, soak the end of a Q-tip (cotton swab) in nail polish remover and carefully rub away the unwanted mess, pulling the skin gently away from the nail to do so, if you have to. It is a lifesaver!
When you're done, it'll look something like this:

If the white (or other color) nail polish used to tip the nail is not a fast drying nail polish, or is very runny in nature, let the polish and tape stand for a moment. This assures there is no dripping when the tape is removed.
The L.A. Colors white I used dries incredibly quickly, so I could move onto the next step almost immediately.
Step 4). Peel off the tape

Take it slow. Peeling the tape off with a taught downward angle, or straight across, can aid in getting a crisp line.
Step 5). Let dry for a few minutes and then (carefully) continue with the same process on the other nails.

Tada! Your very own set of gorgeous, freshly pedicured toenails. Add in a mud mask, a few slices of cucumber (or zucchini), hot cocoa, your favorite dessert, a romantic comedy and some moisturizer and make a Pamper Night of it! Give yourself some well-deserved TLC.
Let me know if you try this pedicure. Post pictures on your own blog and email or comment the link so I can see your results! Have fun - can't wait to see all of your creations!
Loved this nail tutorial! I can't wait to see more in the future! :-)
ReplyDeletexoxo Miss ALK
So glad you enjoyed it! There are more to come shortly, as well as other blog posts. :)
DeleteHappy packing!
xoxo